If you end up dumping more contaminants on your skin while showering, then the primary aim of taking a shower has been defeated. If you find yourself in an area where hard water flows through your water lines, you may want to consider investing in shower filters.
If you have access to the main water line, you can get a filter for the entire house. If not, you can get filters for individual water lines in the house, and getting a shower filter is one of them.
Installing a shower filter is a great way to improve your home’s water quality and protect yourself and your family from the harmful effects of contaminants. Although most filters come with easy-to-follow instructions, some people prefer not to DIY and would rather hire a professional.
While a professional plumber can help you install a shower filter, it is a very easy do-it-yourself job that anyone can do in just a few minutes without any special tools or skills. All you need is the right shower filter for your shower head and some basic plumbing knowledge I will be sharing with you.
What Is A Shower Filter?
A shower filter is a water filtration system that is placed in a shower head to eliminate contaminants like lead, chlorine, and chloramine from the water that could potentially harm your skin, hair, and nails.
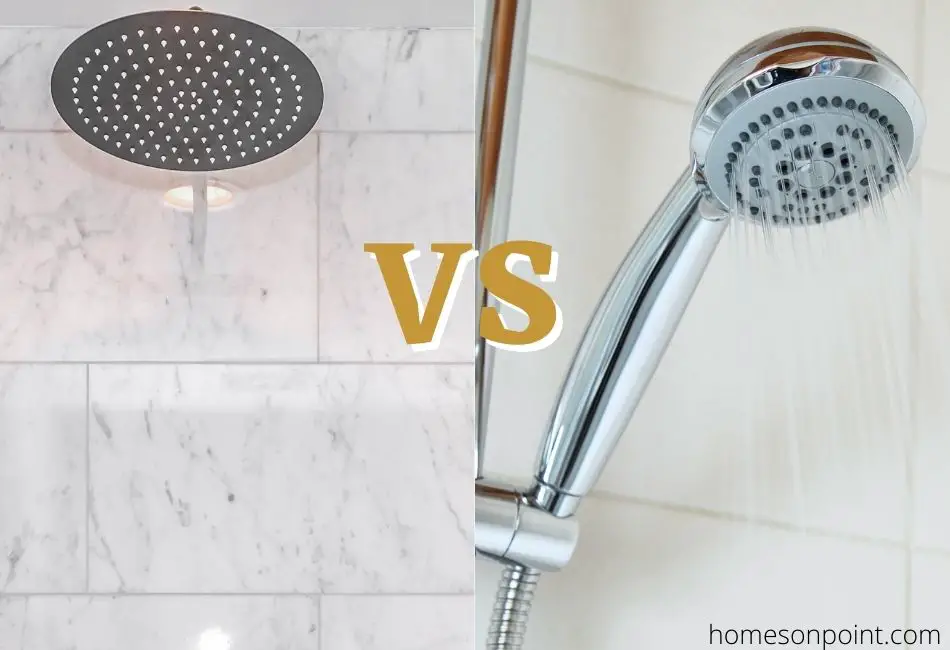
There are two main types of shower filters namely In-line Shower Filters and Built-in Shower Filters.
The in-line shower filter, otherwise known as the potable shower filter is placed between the water line and the existing shower head. It is neatly tucked away in the actual shower head.
Built-in shower filters are also called filtered shower heads. The cartridge is found in the shower head and can be replaced when needed.
How Does A Shower Filter Work?
Shower filters work by using a process called adsorption. This is where contaminants in the water are attracted and held onto by the filter’s carbon media. The process happens when water passes through the shower filter’s media where the contaminants are adsorbed onto the carbon.
As water passes through the shower filter, impurities are trapped on the surface of the carbon granules. This forces pure water through tiny pores in the carbon, leaving contaminants behind.
Advantages Of Using A Shower Filter
There are many advantages of using a shower filter. Some of these benefits are:
- They remove harmful contaminants from your shower water like chlorine, chloramine, and lead.
- They improve the quality of your skin and hair by preventing the drying and stripping effects of hard water.
- They are a great way to save money on hair and skin products.
- They increase the life of your hair and skin products.
- They are easy to install and require very little maintenance.
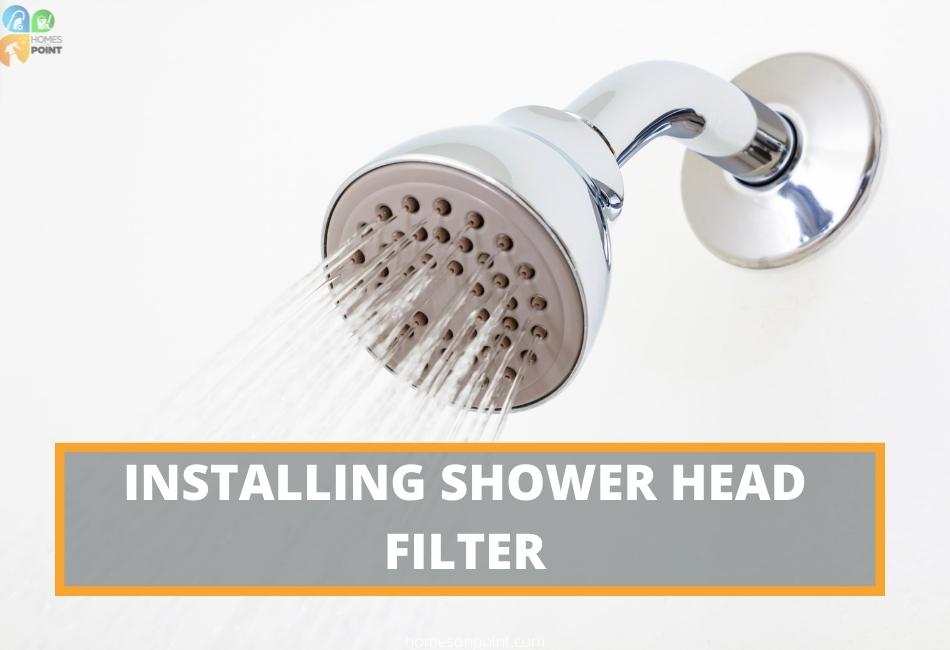
How To Install A Shower Head Filter
I will take you through how to install In-line Shower Filters as well as built-in shower filters. Before installing the shower filter, make sure to always read the instructions that come with it. This will help you understand the process and avoid any mistakes.
Things Needed To Install A Shower Filter
Whether you are installing an in-line or a built-in shower filter, you will need these materials and tools:
- Shower filter
- Pliers
- Plumber’s tape
- Shower filter
- New shower head (if you want to change your shower head)
- Towel
The processes involved in installing the two types of shower filters are easy but differ slightly. Below are the steps to follow in installing both the in-line and built-in shower filters.
Installing An In-line Shower Filter
1. Turn Off The Water Supply
The first step is to turn off the water supply that is leading to your shower. This will help you avoid any accidents during the installation process. You should easily find the water shut-off valve near the base of your shower.
2. Unscrew The Shower Head
This is a fairly simple step as all you may need are your hands. With a little elbow grease, unscrew the shower head from the shower arm by turning in a clockwise direction. Then set it aside to reinstall later. In case the shower head is too tight, you can use a pair of pliers to help loosen it.
To prevent scratches, you can wrap the shower head with a towel before using the pliers.
3. Wrap Plumber’s Tape Around The Shower Arm Threads
This will help create a watertight seal. Sometimes, there will be old plumber’s tape on the shower arm threads. In that case, remove it before adding a new one.
Wrap the plumber’s tape around the shower arm threads 2 or 3 times in a clockwise direction making sure there are no gaps.
4. Remove Shower Filter From The Package And Flush It With Water
It’s time to unbox your shower filter. Some brands come with an extra replacement cartridge that can be used later on. If this is the case, put the extra one away for safekeeping.
Once you have removed the shower filter from its packaging, flush it under a faucet for about 20 seconds or until the water runs clear to remove any carbon dust that may have accumulated during manufacturing.
5. Thread The Shower Filter Onto The Shower Arm
Now, it’s time to connect the shower filter to the shower arm. To do this, first place the two o-rings that came with the shower filter into the grooves on either side of the shower filter.
Once the o-rings are in place, thread the shower filter onto the shower arm by turning it in an anti-clockwise direction. You should hand-tighten it as much as you can. Do not apply excessive force.
6. Reinstall Shower Head And Check For Leaks
Next, screw the shower head back onto the shower filter in an anticlockwise direction. Once it’s tight enough, turn on the water supply and check for leaks. If there are any, make the necessary adjustments which may include re-wrapping the plumber’s tape or tightening the shower head.
Installing A Built-in Shower Filter
1. Turn Off The Water Supply
As with the in-line shower filter, the first step is to turn off the water supply leading to your shower.
2. Remove The Shower Head
To remove the shower head, unscrew it from the shower arm in a clockwise direction. If it is too tight to loosen by hand, wrap it with a towel and use a set of pliers to loosen it.
3. Clean And Wrap Plumber’s Tape Around Shower Arm Threads
Remove any old plumber’s tape from the shower arm threads and wrap the new plumber’s tape around the threads. Go over it 2 or 3 times to make sure there are no gaps and to create a water-tight seal.
4. Flush The New Filter With Water
Remove the built-in showerhead filter from its packaging and flush it under a faucet for about 30 seconds. This will help get rid of any manufacturing residue that may be present. Continue flushing after 30 seconds if the water coming out of the filter is still cloudy until it runs clear.
5. Install The Built-in Shower Filter
After thoroughly flushing the built-in shower filter, it’s time for installation. Make sure the shower head nut is in line with the shower arm threads and turn it in the clockwise direction to lock it in the shower arm.
6. Reattach The Shower Head And Check For Leaks
Now, all you have to do is screw the shower head back onto the shower arm in an anticlockwise direction. Once the shower head is tight enough, turn on the water and check to see if there are any leaks. If there are, fix them.
Final Thoughts
Installing a shower filter is such an easy task. The key is to know whether it is an in-line or a built-in shower filter. With the tools and simple steps outlined above, you would not require a professional at all. Once installed, you are assured of purified water whenever you take a shower.