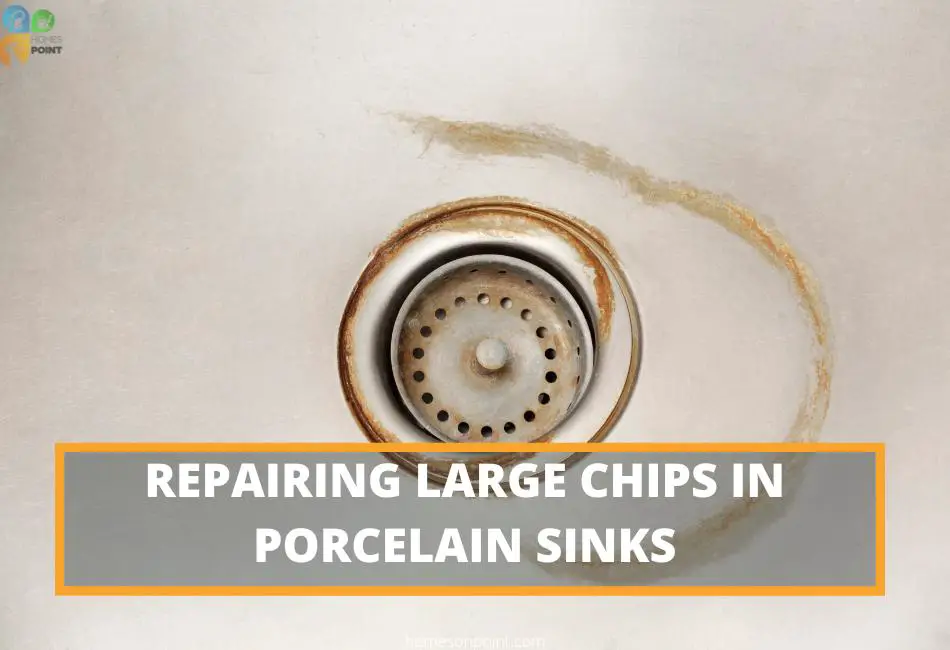
I have already discussed how to repair hairline cracks in porcelain bathroom sinks and I have gotten some emails from some of my cherished readers, asking how to repair large chips in porcelain sinks.
So, I am going to take the time to take you through step by step how to effectively and adequately repair and prevent large chips in your porcelain sink.
We all know that porcelain is beautiful but prone to cracking and chipping. when some people discover large chips in their porcelain sinks, they become frustrated and want to replace them.
However, in most cases, as long as the chip is not too deep or wide to the extent that it affects the structural integrity of the sink, you can repair it without having to replace it.
First, let’s look at why your porcelain sink might have chipped in the first place.
What Causes Large Chips In Porcelain Sinks
Chips in porcelain sinks usually develop when the sink takes a heavy impact from a falling object. This could be anything from a heavy pot or pan to a tool that you dropped in the sink.
The reason why porcelain is prone to chipping is that porcelain is a type of ceramic, which is made from clay and fired at high temperatures. This creates a finished product that looks beautiful but lacks durability when it comes to impacts.
Consequently, porcelain sinks don’t fare well against heavyweight objects or strong forces. If something strikes the sink it will chip due to the brittle nature of its material.
Accidents do happen from time to time and you may be on the wrong side of one.
The Most Effective Way to Repair Chips in Porcelain Sinks
The most effective way to repair chips in porcelain sinks is with a porcelain repair kit or ceramic-based filler materials. These materials are designed specifically for repairing porcelain surfaces, so they will provide a strong bond that will last for years.
Additionally, these materials come in colors that closely match most porcelain finishes, so it will be difficult for anyone but an expert eye to detect the repair job.
Let me take you through the process to apply the repair kit very well.
Things You’ll Need
- Ceramic-based filler/ porcelain repair kit
- fine grit sandpaper
- Applicator (tiny artist’s brush)
- Sponge
- Dishwashing soap
- Masking tape
Step By Step Procedure
Step 1
The first step is to make sure that the affected areas and for that matter the entire sink are clean and dry. Clean the sink with a sponge and dishwashing soap and make sure to rinse off all of the soap residues. Once it is clean, let the sink dry completely before you start the repair process.
Step 2
Once the area is clean and dry, I will use masking tape to cover the immediate surroundings of the chip. This is to help me have a nice and clear visual space for the repair without me worrying about the filler spilling over to the unintended areas.
Don’t worry, the filler will not stick to the gloss finish permanently. It will only adhere strongly to the ceramic underneath.
Step 3
Use the fine-grit sandpaper to lightly sand around the chip. This will provide a rough and better surface for the filler material to bond with. Do not overdo this step, because you don’t want to create a bigger hole than what was originally there.
Step 4
Now mix the porcelain repair kit according to the instructions on the package. Do not mix too much but just the right amount to cover the chip.
Step 5
Once it is ready, use an applicator such as a tiny artist’s brush to fill the hole. Most porcelain repair kits come with some sort of applicator but if it doesn’t, you can use any small brush.
Fill it in gradually, spreading it to cover the edges of the chip. You may need to apply more than one coat depending on the depth of the chip. It could be 2, 3, or 4 coats but remember to allow about 1 to 2 hours in between coats for drying time.
Fill it slightly higher than the sink’s surface so that you can sand it down to match the surface.
Step 6
Remove the masking tape while the filler is still wet and allow the filler to cure completely for at least 24 hours.
Step 7
After that, use the fine-grit sandpaper to sand the top of the filler until it is level with the surface. Finally, wipe down the area with a wet cloth to remove any excess debris, and you are done.
Your sink should feel smooth and nice but most of the time, the color match wouldn’t be perfect and this is fine. It is not a brand-new sink so you shouldn’t expect to have a perfect result, although you should aim at finding the closest color match possible.
Some people prefer to apply a coating of paint over the repair to make sure that the color match is perfect.
How To Prevent Your Porcelain Sink From Chipping
The best way to avoid having chips or cracks appear in your porcelain sink is by avoiding contact with hard objects or sharp edges whenever possible.
Be sure to use protective padding when putting dishes into the sink and make sure you always handle heavier items carefully when placing them into your sink basin.
Additionally, make sure your sink has been properly installed by an experienced professional. This will help ensure that there is proper support underneath the surface of your sink which will minimize chipping due to wear and tear over time.
Conclusion
Proper care and maintenance are key when it comes to keeping your porcelain sink. Chipping in porcelain sinks is mostly a result of accidents but knowing how to repair them quickly and effectively is essential for ensuring that you get the most out of your investment in this timeless material.
And remember, prevention is key when it comes to handling porcelain sinks. With proper handling techniques, proper installation methods, and protective padding when necessary, you should have no problem keeping your porcelain sink looking beautiful all the time.