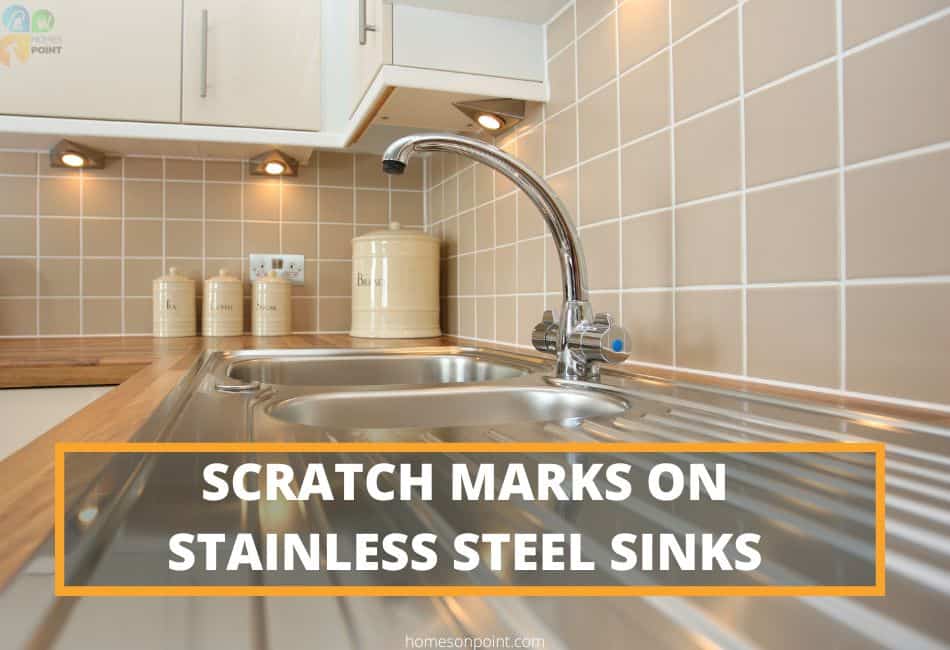
Many homeowners opt for stainless steel sinks in the kitchen because of their beauty, affordability, shine, durability, and ease of maintenance. However, some people wonder if stainless steel sinks scratch easily.
The answer is yes, stainless steel sinks can scratch easily if proper care is not taken. It’s a common misconception that stainless steel sinks are immune to scratches and scuffs. They are scratch-resistant not scratch impossible.
In reality, any type of sink can be scratched with enough abuse. If you’re the proud owner of a stainless steel sink, it’s important to take some preventive steps to keep it looking its best. In this article, we’ll discuss what causes scratches on stainless steel sinks, how to remove scratch marks from stainless steel sinks, and how to prevent scratches on stainless steel sinks. Let’s get started.
Causes Of Scratch On Stainless Steel Sink
Stainless steel has a unique feature in that its self-healing. The chromium in the steel oxidizes and forms a clear, invisible film on the surface of the sink known as the passive layer.
This passive layer protects the steel from corrosion and allows it to resist scratches. The ability of this invisible film to reform minor scratches is what gives stainless steel its scratch-resistant quality.
However, the passive layer can be damaged if exposed to some conditions, eliminating its self-healing ability. When this happens, the steel is susceptible to scratching and other forms of damage.
The most common causes of scratches on stainless steel sinks are:
1. Abrasive Cleaning Pads:
If you are planning on cleaning your stainless steel sink with scouring pads and metal brushes, think again. These materials are too abrasive and will damage the sink’s surface, leaving behind scratches. Because of their finish, stainless steel sinks require only soft cloths, sponges, and non-abrasive cleaners.
Abrasive cleaning pads are made with materials such as steel wool, nylon, and chemically treated metals which can easily leave scratch marks on your sink because they in a way, act like sandpaper. When used, they will leave more than just a single line scratch, but multiple scratches that run in different directions.
2. Harsh Chemicals
In line with using scouring cleaning pads, some people also use harsh chemicals to clean their stainless steel sink. Unfortunately, this is a huge mistake as it can cause the sink to develop scratches.
Harsh chemicals contain abrasives that can strip away the protective film on the surface of your sink, leaving it vulnerable to scratching and staining. Let’s take oven cleaners as an example. They are perfect for cleaning ovens but oven cleaners cannot be used on stainless steel sinks. The chemicals in the cleaner will strip away the protective layer on the sink and cause it to rust.
Sometimes it is not your intention to use these harsh chemicals to clean your sink but by virtue of their presence in the sink, it will cause harm. For example, when using oven cleaners to clean the metal trays in your oven, but you are doing so in the stainless steel sink. The chemical will by all means pour or drip into the sink basin and when left for a long time, it can cause damage.
The same goes for other harsh chemicals such as bleach, drain cleaners, and other chlorine-based products.
3. Metal Objects
Metal objects are not abrasive but when not handled properly around the sink, they can still cause scratches. For example, if you’re washing dishes and you keep dragging utensils across the sink, you will end up with scratches.
If you accidentally drop kitchen utensils such as pots, pans, and knives on the sink, they will also cause scratches. Even worse, if you drop a hard object such as a glass jar or plate on the sink, it can leave a big scratch.
4. Cutting Directly On The Sink
Some people have the habit of using the sink extension as a cutting board. This is a major no-no because it will definitely scratch the surface. This is pretty obvious but it’s still worth mentioning. You might think you are just cutting something small and wouldn’t cause any damage but even the tiniest scratch can be visible on a stainless steel sink. You can do your best not to cut too hard to prevent any damage but you can never be so sure.
5. Improper Cleaning Methods
There are proper ways to clean a stainless steel sink and there are improper ways. The improper way would be to use any materials that can cause scratches as we have discussed earlier. But even if you’re using the proper materials, there are still ways to clean it incorrectly and cause scratches.
For example, if you clean the sink in a circular motion instead of a back and forth motion, you will end up with scratches. This is because circular motions tend to focus the cleaning pressure on one area which can cause the material to scratch the surface. The best way to clean a stainless steel sink is to use a back and forth motion.
Another example of an improper cleaning method is using too much pressure when cleaning. Even if you’re using a soft cloth, if you apply too much pressure, you will still end up with scratches. The best way to clean the sink is to use gentle pressure and let the cleaning materials do their job.
How To Remove Scratch Marks From Stainless Steel Sink
Minor scratches on stainless steel sinks are impossible to avoid but the good news is that they can be removed. This how-to guide is for removing light to medium scratches. If your stainless steel sink has deep scratches, you will need to consult a professional because it is more difficult to remove.
To know if you have a light or deep scratch, run your fingernail over the scratch. If your fingernail goes over the scratch without you feeling anything, then it is a light scratch. If it feels like you can catch your fingernails on them, then it is a deep scratch.
What you will be doing is simply re-graining the stainless steel sink so that it’ll be uniform over the scratches. This is going to take some time so you should be patient.
You will need the following materials:
- Cleaning pad with different grits
- Cleaning pad holder/wooden block
- Stainless steel sink cleaner
- Microfiber cloth
Procedure
Step 1
Fix the cleaning pad that has the highest grit onto the pad holder or the wooden block. The pad holder or wooden block will provide an even surface to work on and will prevent you from applying too much pressure in one area. Any pressure applied will be evenly spread out.
Step 2
Gently rub the pad over the scratch in a back and forth motion using nice even strokes. Do not rub in circular motions because it will only make the scratch worse.
Every stainless steel has a grain. You want to rub along the grain and not against it. If you rub against the grain, you will end up with more scratches.
Don’t spend so much time rubbing one area. Overlap your strokes so that you evenly work on the entire scratched area and don’t end up with uneven stripes. This will remove most of the scratches.
Step 3
After you’re done with the first pad, move on to the next one with a lower grit. The idea is to gradually remove the scratches and also give your sink a cleaner satin finish.
Still using the pad holder or block, gently rub the lower grit pad over the entire scratched area in a back and forth motion in a continuous line just like before. You should see the scratches slowly disappearing. Remember to go with the grain and not against it
Step 4
After you’re done with the second pad, move on to the third one with an even lower grit. To get a high polished look, spray some stainless steel sink cleaner on the lower grit pad and then rub it over the entire sink in a back and forth motion going with the grain. The scratches should be practically gone at this point and you should have a uniform satin finish over the entire sink. The cleaner will remove any residue and will also provide a nice shine.
Step 5
Rinse the sink with clean water and then dry it with a microfiber cloth. You’re all done. Your stainless steel sink should look good as new. These steps can also be used to clean the rest of your stainless steel appliances.
Now that you know how to remove scratches, let’s move on to how you can prevent them in the future.
How To Prevent Scratches On Stainless Steel Sink
The best way to prevent scratches is to be proactive and take preventive measures. That means using the right cleaning materials and being careful when you’re using them. Here are some tips.
- Avoid abrasive cleaners and scrubbers at all costs. Use soft sponges or cleaning pads instead.
- Rinse your sink very well with clean water after every use and if possible, dry it with a clean microfiber cloth to prevent the formation of limescale and water deposits.
- Don’t cut directly on your sink. Use a cutting board instead.
- Use a stainless steel sink grid or sink mat to protect the bottom of your sink from scratches when washing pots, pans, and other dishes.
- Wash your sink regularly with a good-quality stainless steel sink cleaner or normal dish soap and sponge to remove any dirt, grime, and fingerprints.
- Be careful when using knives and other sharp utensils. Avoid dropping them in the sink as well.
- Avoid putting hot pots and pans directly in the sink.
- Don’t clean the sink in circular motions. Always go with the grain.
- Finally, don’t use too much pressure when cleaning or scrubbing the sink. Apply gentle pressure and the cleaner will do its job.
Final Words
Stainless steel sinks can easily scratch if mishandled but the good news is that the scratches can be easily removed with the right materials and techniques. Prevention is always better than cure so be careful when using your sink and clean it regularly.
I hope you found this information helpful. thanks for reading